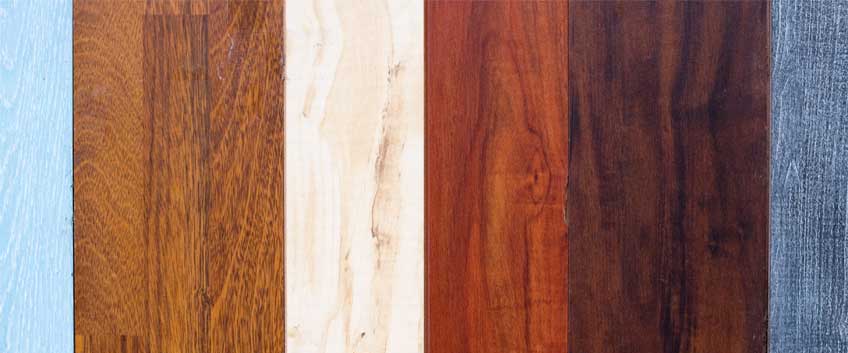
If you like the challenge of DIY projects, or you just want to save a bit of money by trying to improve your home yourself, then you are most probably going to find this article helpful. Today we are sharing with you how to stain your wooden floor by yourself. First of all, let us say that as it comes with any other wood flooring service, maintenance, idea and project, wood floor staining is another one that requires knowledge and experience to be effective, to ensure amazing final results and possible issues and problems to be avoided. Otherwise, if you are willing to train and test and to learn more, so you can do these things by yourself, then staining is a good thing to start learning with.
What you are going to need?
- Stain
- Push broom
- Tack cloth
- Rubber gloves
- Belt sander and floor edger
- High-quality/professional vacuum
- Clean rags, sponges and rollers
Preparation
To start the procedure you have to start with carefully sanding the surface of the floor to get rid of the old finish as well as minor imperfections on the surface. After sanding the surface will be smooth and even, which will help you for easier and more uniform application of the stain. If there are some imperfections on the surface, they will be most probably highlighted with the stain, so make sure they are all gone. In addition, sanding opens the pores of the wood for the sealing and staining products to adhere better.
Any holes and gaps have to be filled with latex or resin filler and then sanded when dry. Overall, you have to sand the surface three times, every time with different grit sandpaper, finishing with the finest one. After you are ready with sanding, continue sweeping the floor with a push broom and then vacuum thoroughly. Finish this up by using a tack cloth to pick up the finest dust left. It is very important to make sure that the surface is as clean as possible.
Water popping technique
What water popping means is a technique that involves applying water to the floor with a wet rag. This is done because it opens the grain and allows the wood to take the stain much darker for more intensive pigmentation. Simply be sure that if you use this technique, you have to let the floor dry completely, before continuing with staining.
Staining
Whatever wood flooring stain you have chosen, make sure you always read the manufacturer’s instructions and recommendations and follow them for the best results. Take into account that the on-site condition may affect the dry time. Be sure the area you are staining is ventilated as much as possible. While you are staining, to keep colour consistency, remember to stir the stain while you are working, this will ensure uniform pigmentation of the surface. Apply stain with rags, sponges or rollers and always go in the direction of the grain. When you cover the whole space, wait for 5 to 10 minutes and remove the excess stain with clean rugs. The longer you leave a stain to soak, the darker the colour will be. Once the stain is dry, be sure to cover it with a few layers of polyurethane, so you can make it extra long-lasting.